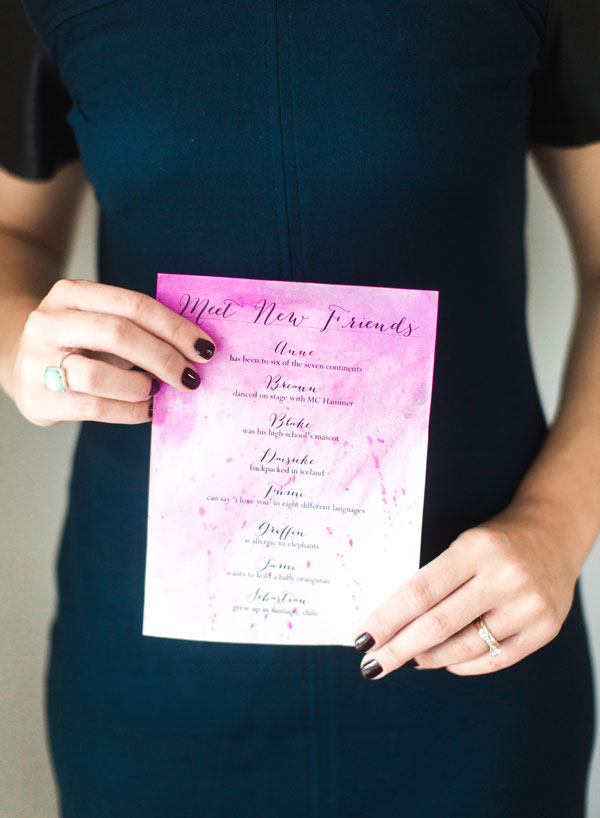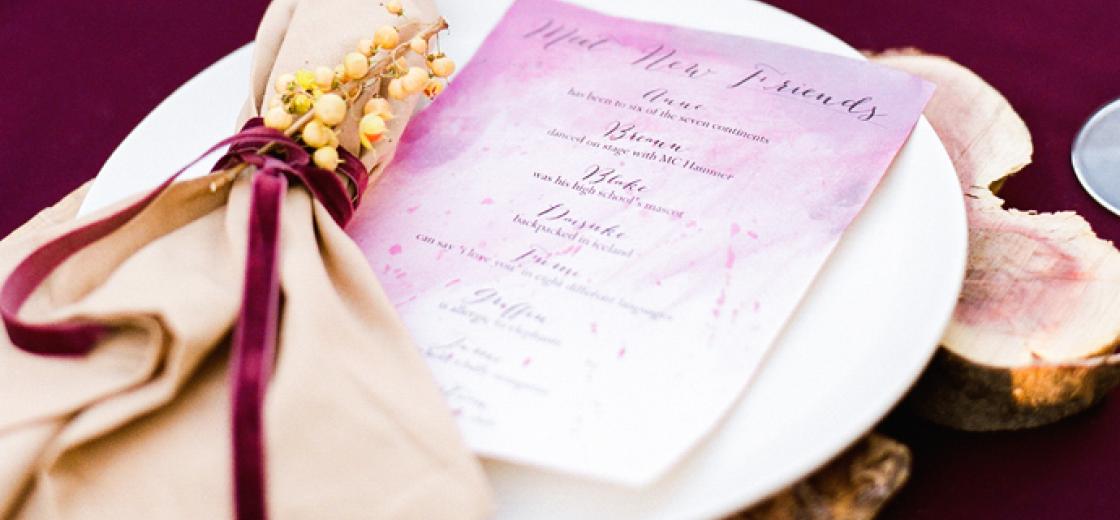
DIY: Watercolor Conversation Starter Cards
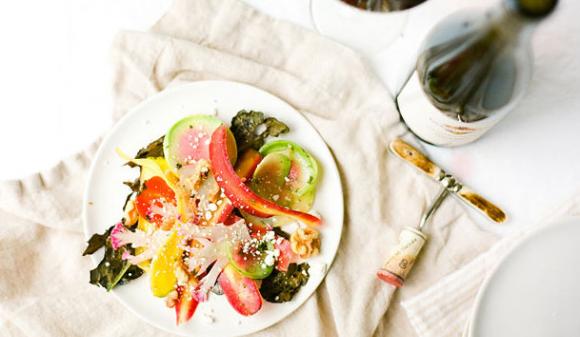
Hello! Lauren Kelp here of LaurenKelp.com. Last week I threw a spontaneous get together for a few new friends to celebrate a great summer over a glass (or two) of K-J AVANT and a festive meal. I love the idea of sharing a fun fact about each guest on a conversation starter card and placing it at each table setting. This fun DIY is sure to add a little something special your guests are sure to remember! I am going to show you how to make these easy watercolored conversation starter cards.
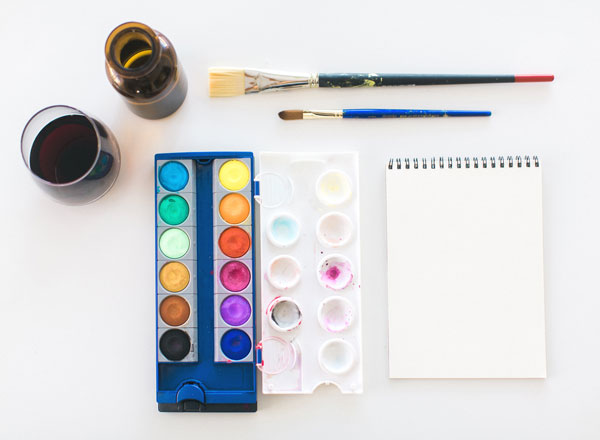
WHAT YOU’LL NEED:
- Watercolor paint
- Thick watercolor paper (in white)
- A few different sized paint brushes
- Cup of water (to mix the watercolor with)
All of these materials can be obtained at your local craft store. Don’t get caught up on the size of the paper or the color of the paint. Select a color that coincides with your table theme. I chose a warm burgundy to compliment the fall tones.
Pour yourself a little cup of water and let’s get started!
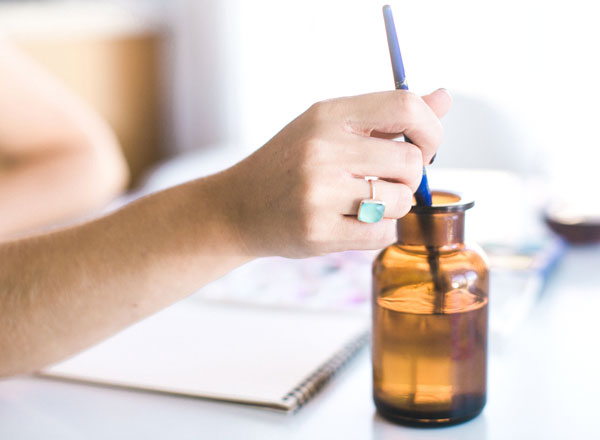
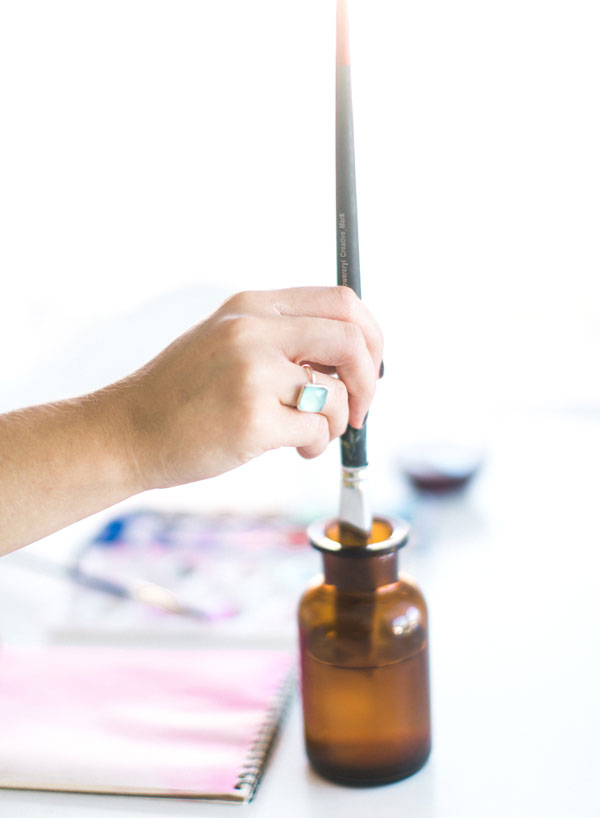
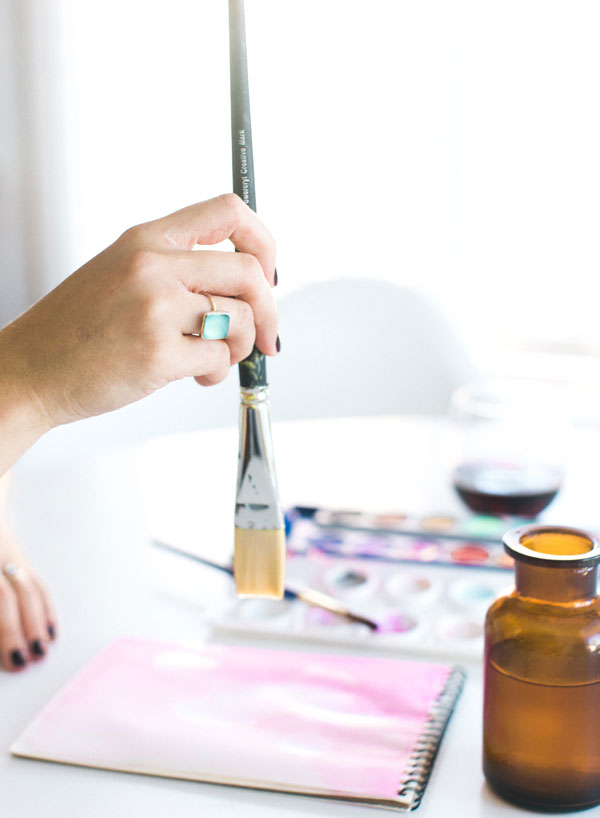
First step is mix your paint color. Dip your brush into your cup of warm water and mix the brush with your selected color. If your set has a mixing palette, feel free to mix the water and paint in there. The more paint you use, the stronger the color will be.
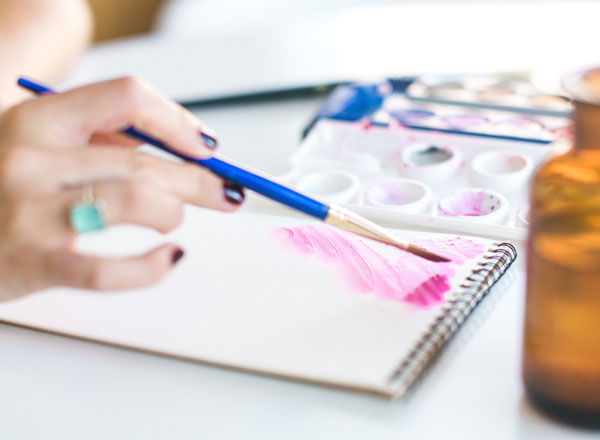
Take your brush to the paper and start painting. Pour yourself a glass of wine and let the creative juices flow. Watercolor is one of the most forgiving paints, so have fun with it!
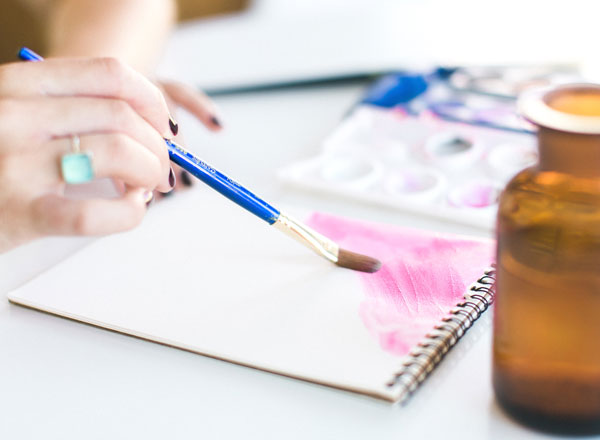
Start off with a sweeping motion, adding more or less water for different opacity levels. For an ombre effect, allow your brush to have more water towards the end of the page. This will create a nice fade and will allow the text to really pop!
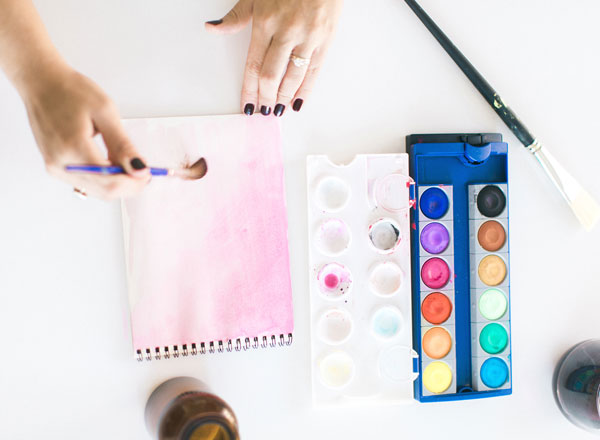
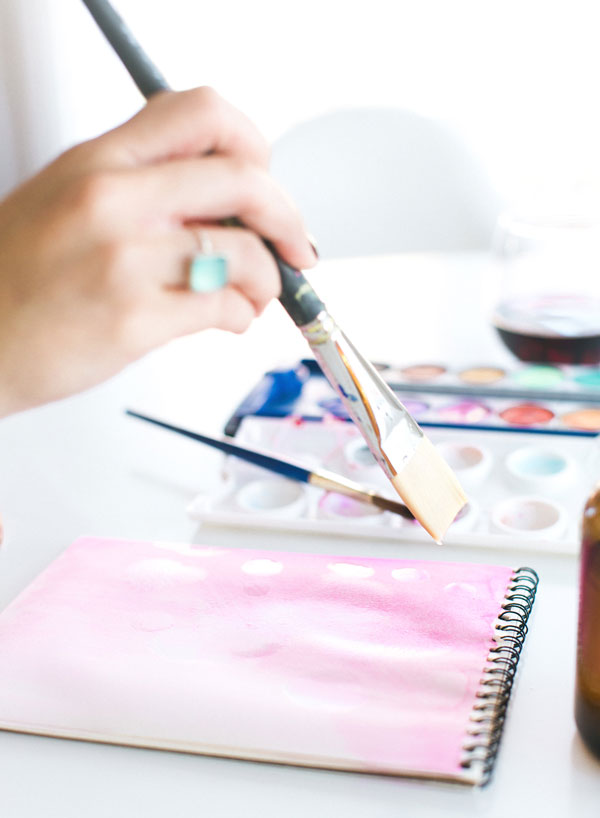
This was my favorite part of the preparation process! We had eight guests, so I got to play around with different strokes and effects. My favorite was dipping my brush into the water and letting it drip over the page.
If you are in a space that allows for a bit more mess, add a bit more paint on your brush and flick it on the page. This technique gives the conversation starter card a fun, Pollock vibe. Take a paper towel to a corner that hasn’t fully dried yet for a little more texture.
Once you’ve made enough for all your guests, lay the conversation starter cards out to dry on a nice flat surface. While you wait, type the name of each of your guests and a fun fact about them. These fun facts can be introductions to a story, an interesting fact, or something quirky. Don’t forget to format your list to the correct size of your watercolored paper.
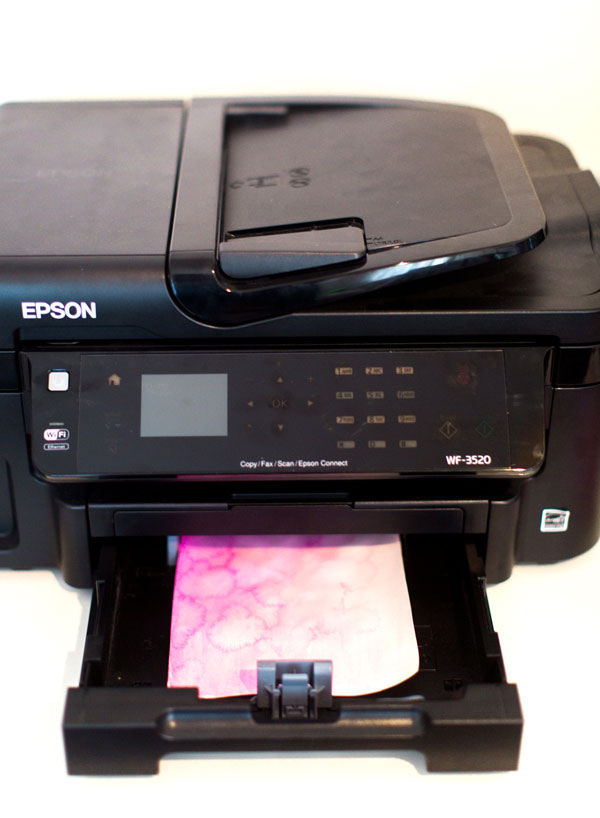
Take your dried works of art and load them into your printer tray. Adjust the tray to fit the need of your sheet and press print. The idea is to give your guests a fun starting point for conversation! Forget the boring small talk, add a little spontaneity to your party!