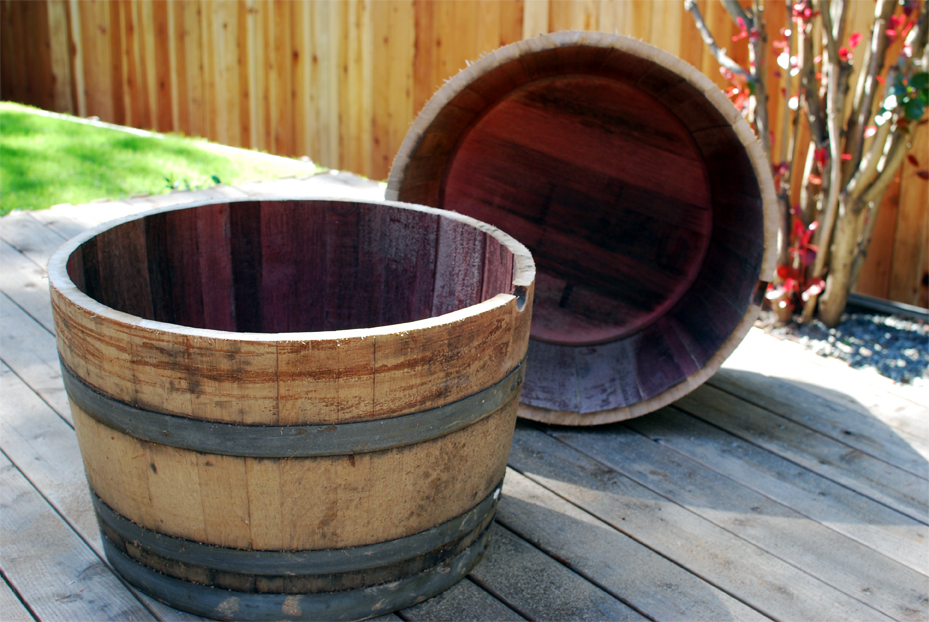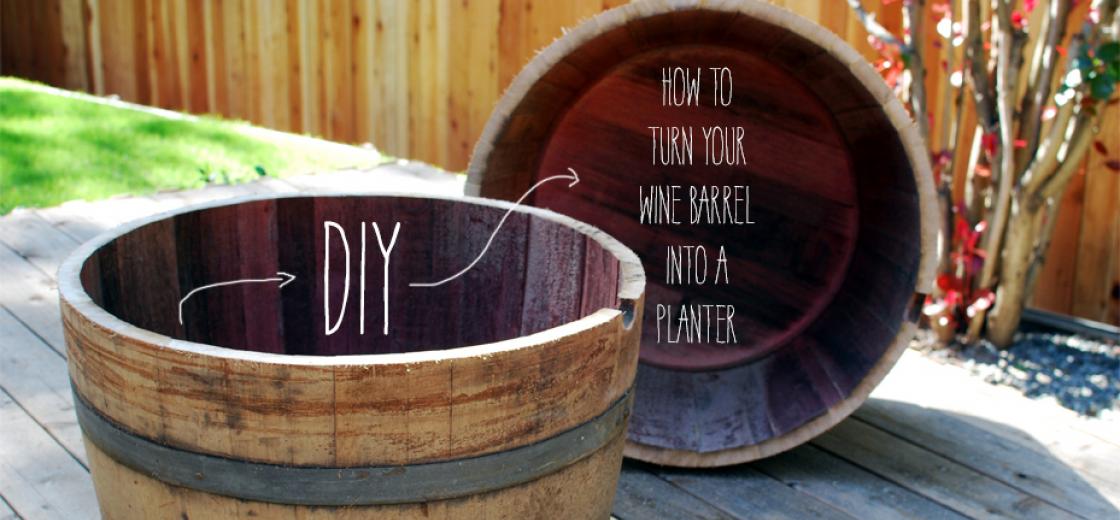
DIY: How to Turn Your Wine Barrel into a Planter
Like most wooden products, wine barrels can live more than one life. Their first life is one tasked with turning grape juice into delicious tasting wine. Their second life can be a great many things, one of which is a beautiful planter to enhance your garden.
Okay, so not everyone has a wine barrel on hand. But in the chance that you do or if you can get one, here’s a fantastic DIY on how to turn it into a planter:
What you’ll need:
-Wine barrel
-Circular Saw
-Pencil
-Chalk line marker
-Tape measure
-Sand paper
-Protective eye gear
-Protective ear plugs
-Protective gloves
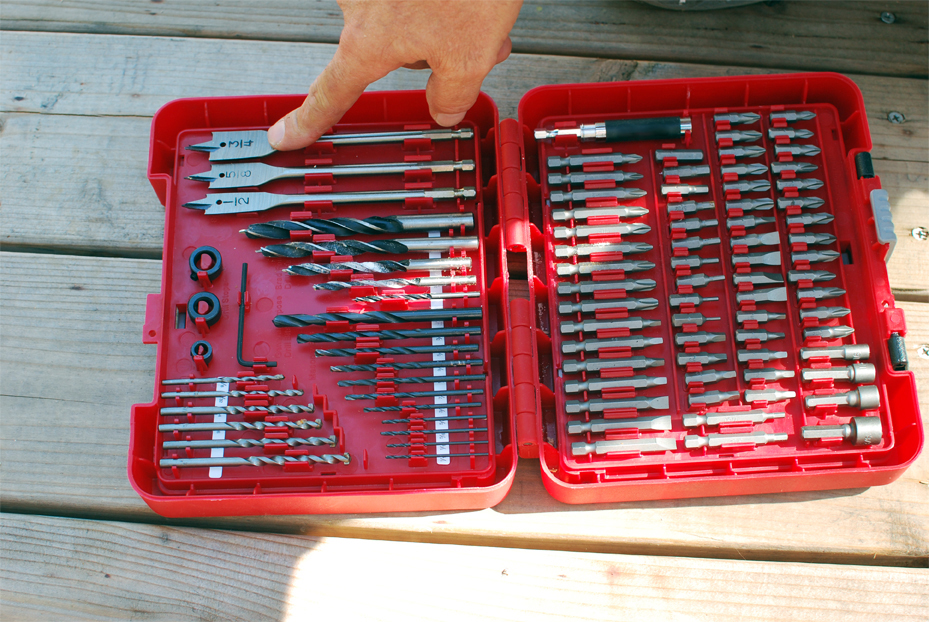
-Power drill & attachments 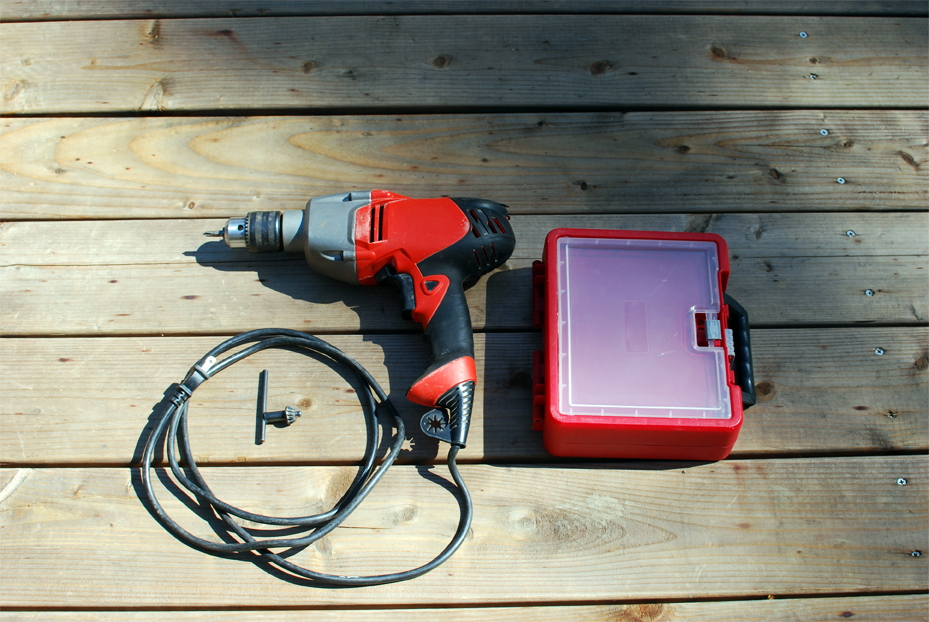
 How to do it: Lay the barrel on its side and use the tape measure to determine the where the middle of the barrel is — for us it was over 4.5 inches.
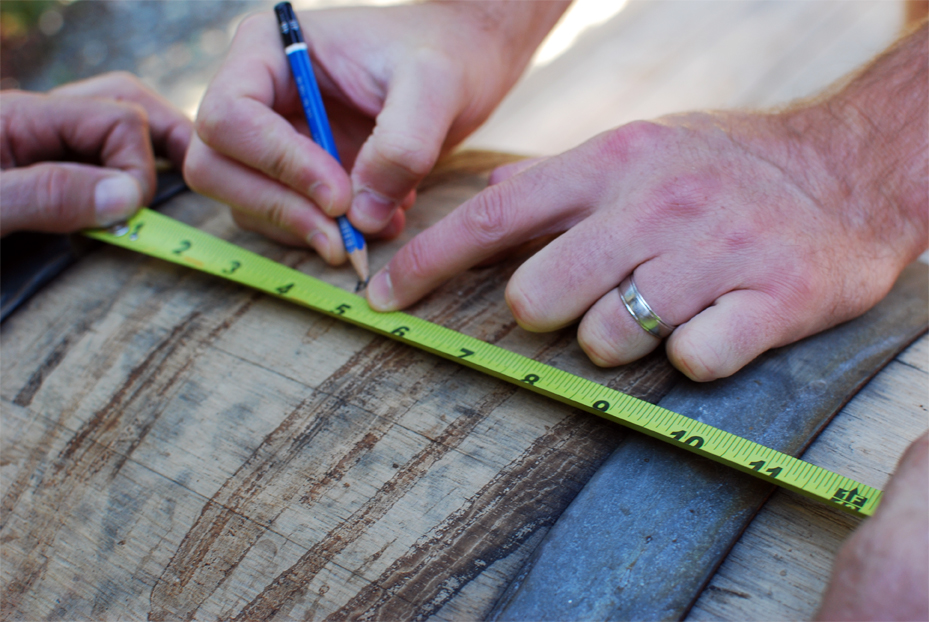
 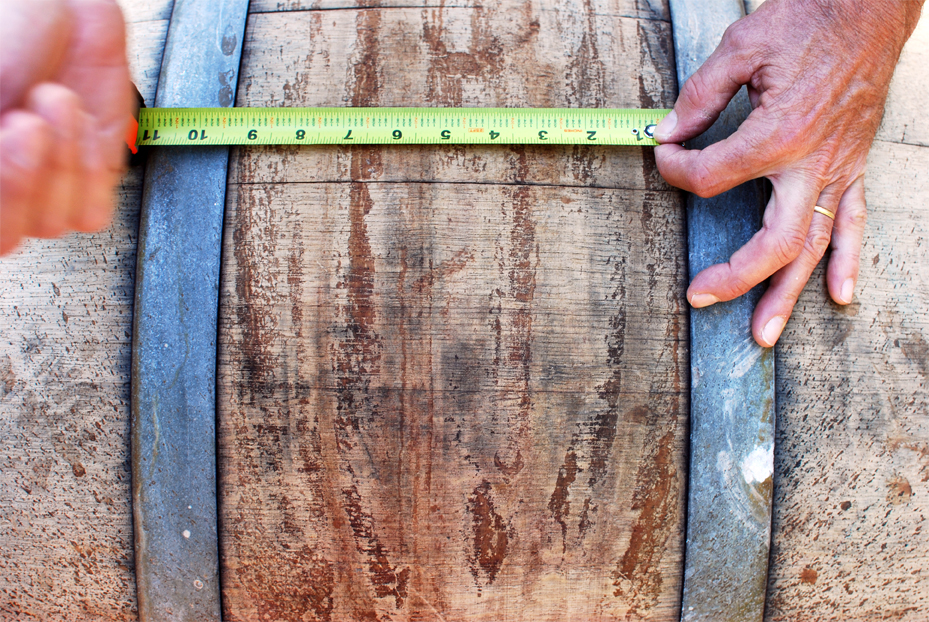 Mark the middle of the barrel with a pencil — we used small arrows to help avoid confusion. Do this all the way around the barrel about every 6-8 inches.
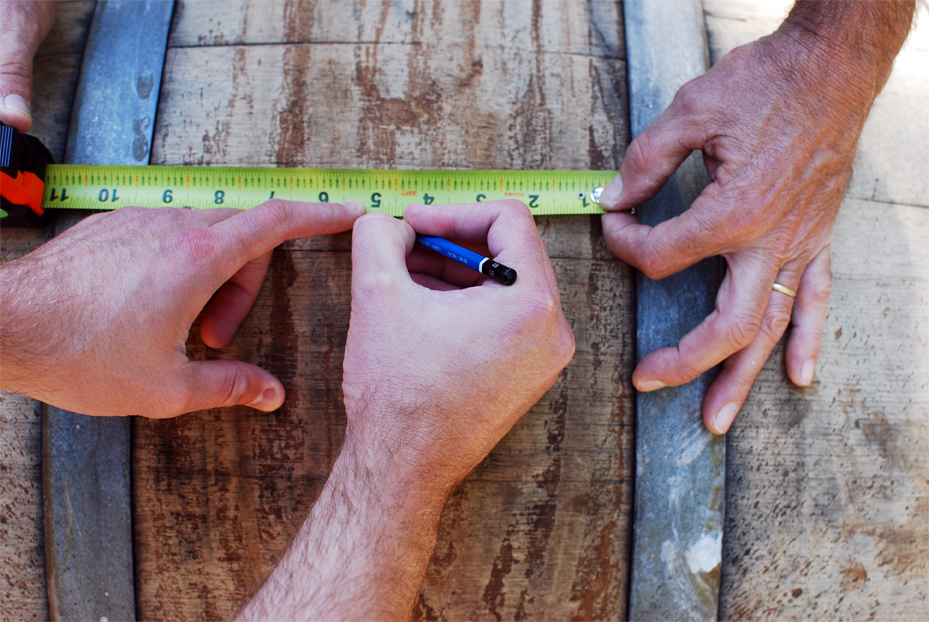
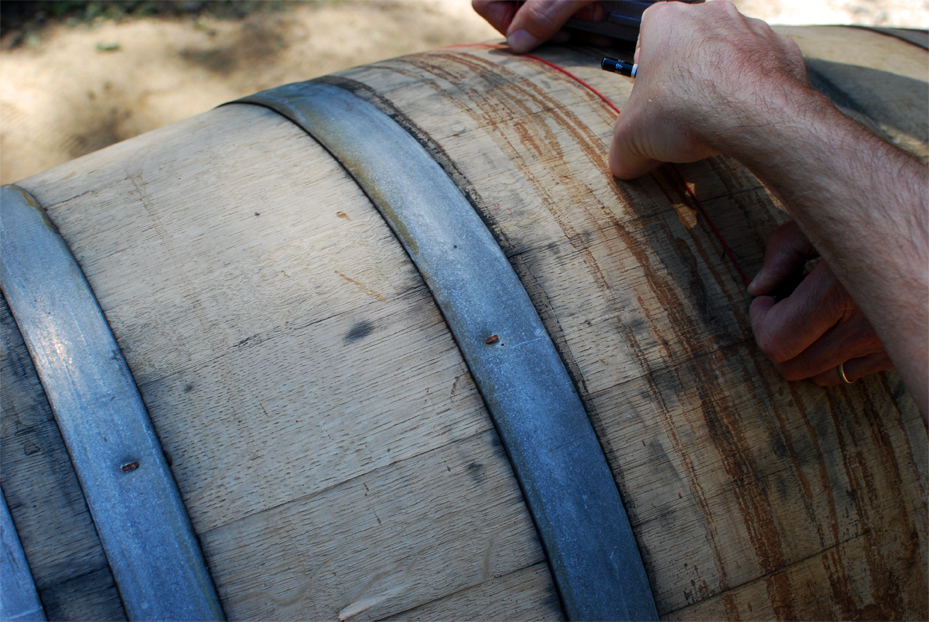
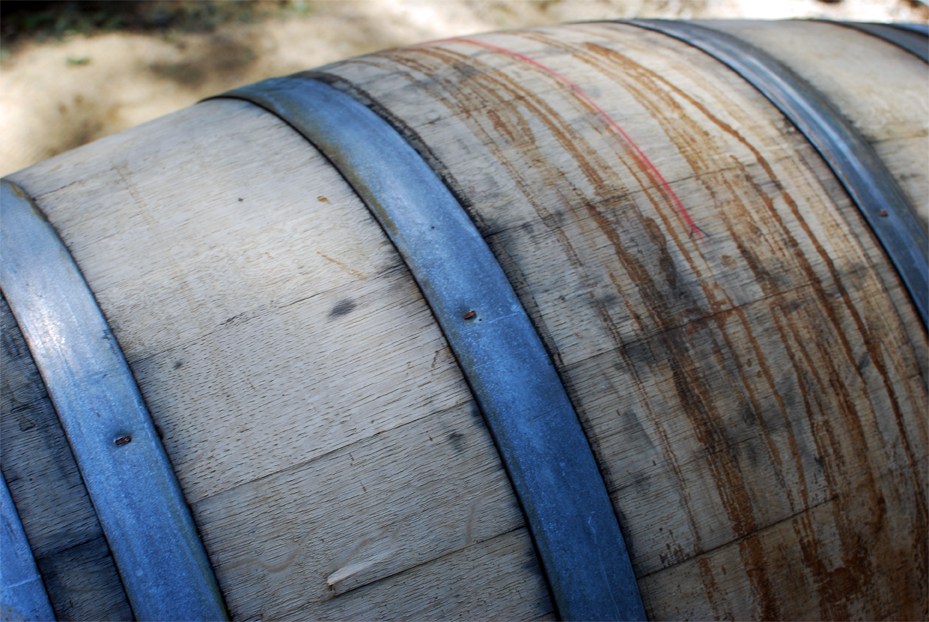
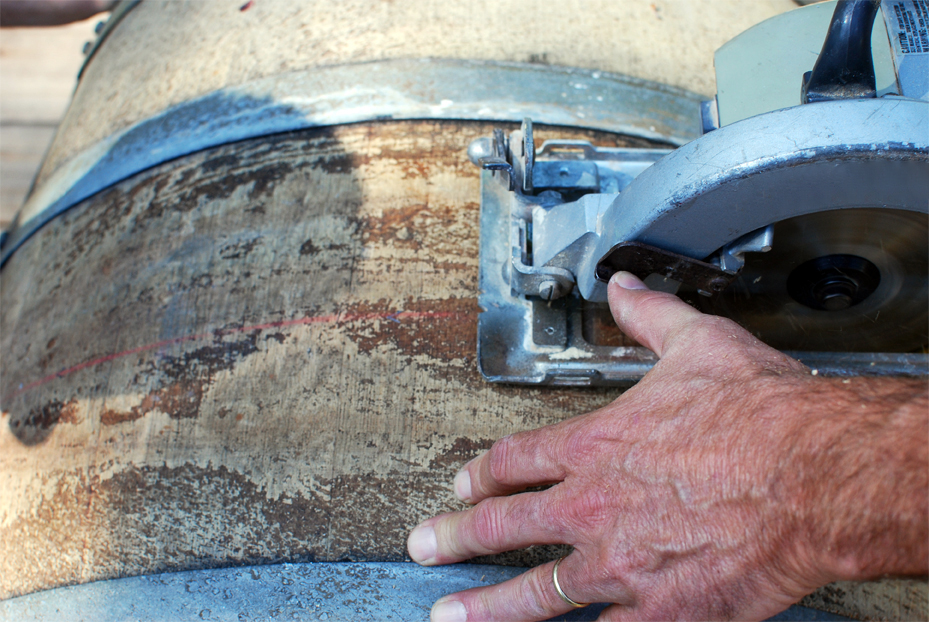
 Once you have your pencil marks, you can begin to use the chalk line marker to mark where you will saw through the barrel. Line up your chalk line marker along the middle of the arrows and snap the line on the barrel to leave a mark.
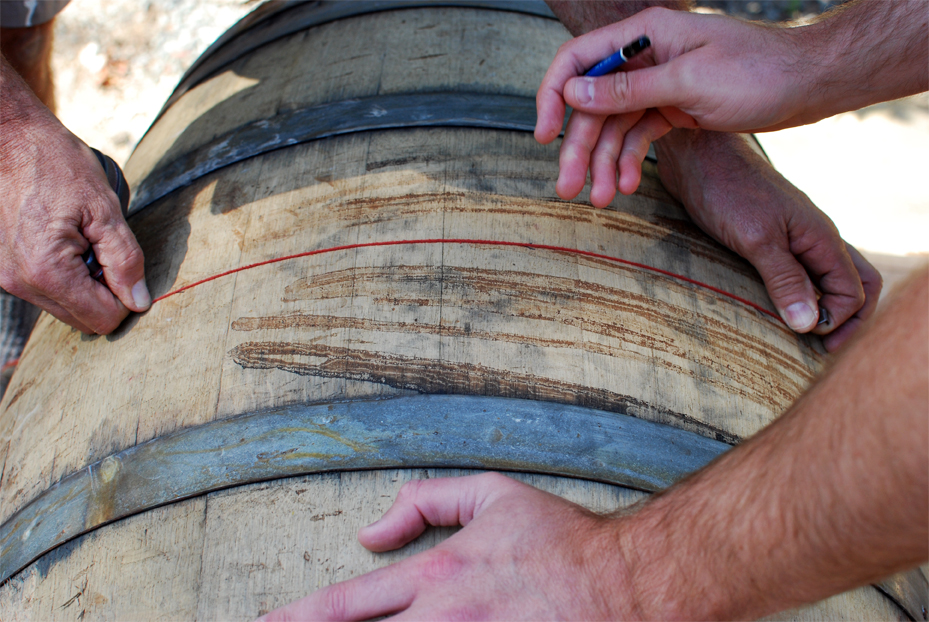
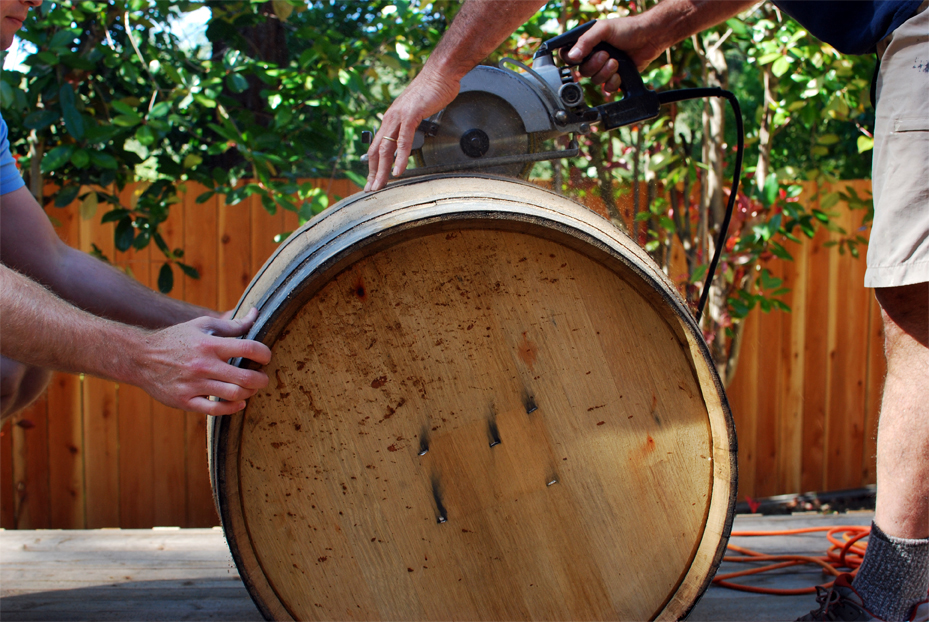
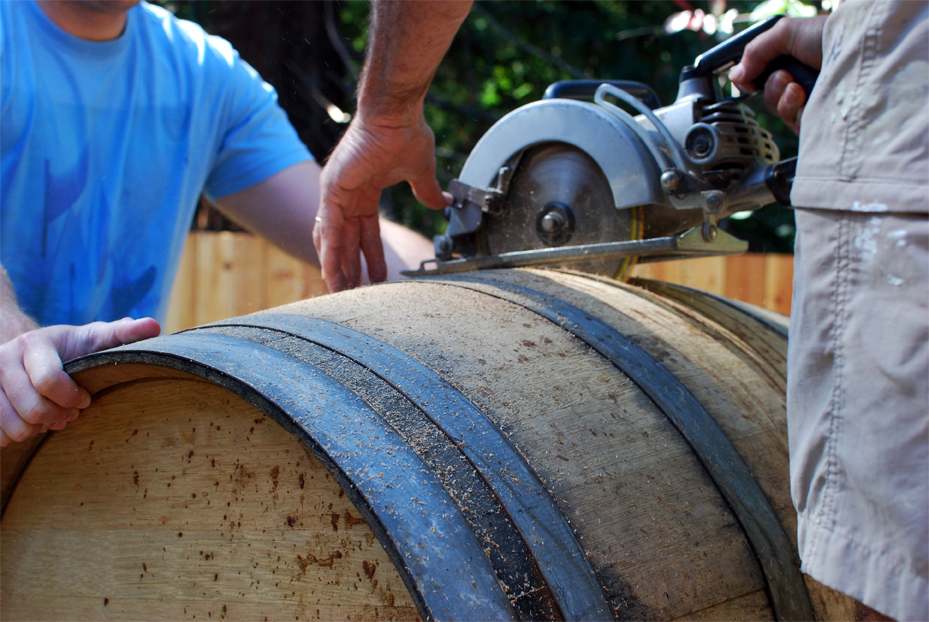
 Now that the middle of your barrel is clearly marked, you may now begin to cut into it with your saw. Be sure to wear your protective safety gear and have someone else hold the barrel as you begin to cut. Please do not use a saw unless you have been properly trained on how to safely use it. Be sure to cut very slowly so that the saw and barrel don’t have any unexpected movements.
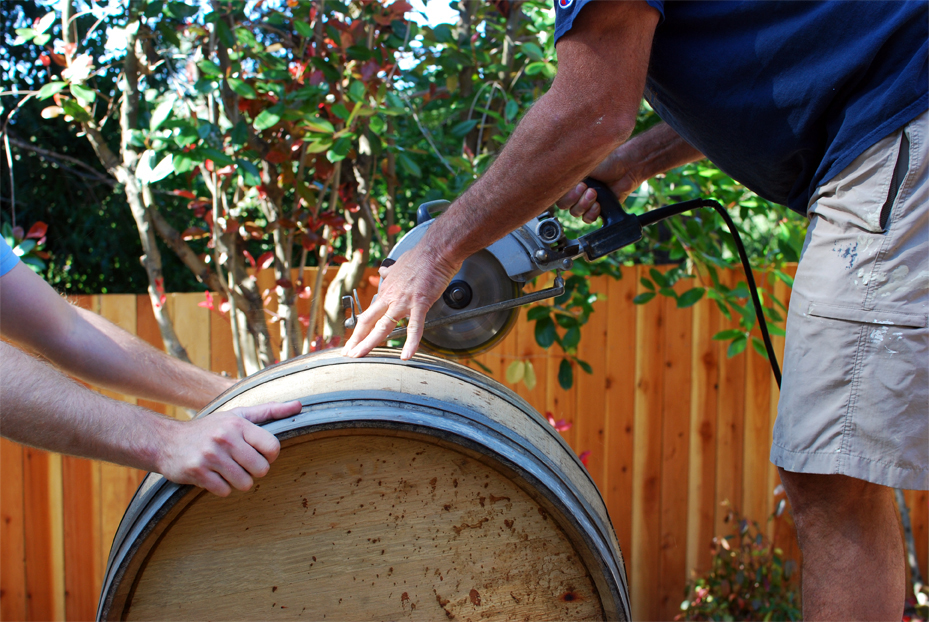
 Now your barrels are cut! Good news: you’re almost there!
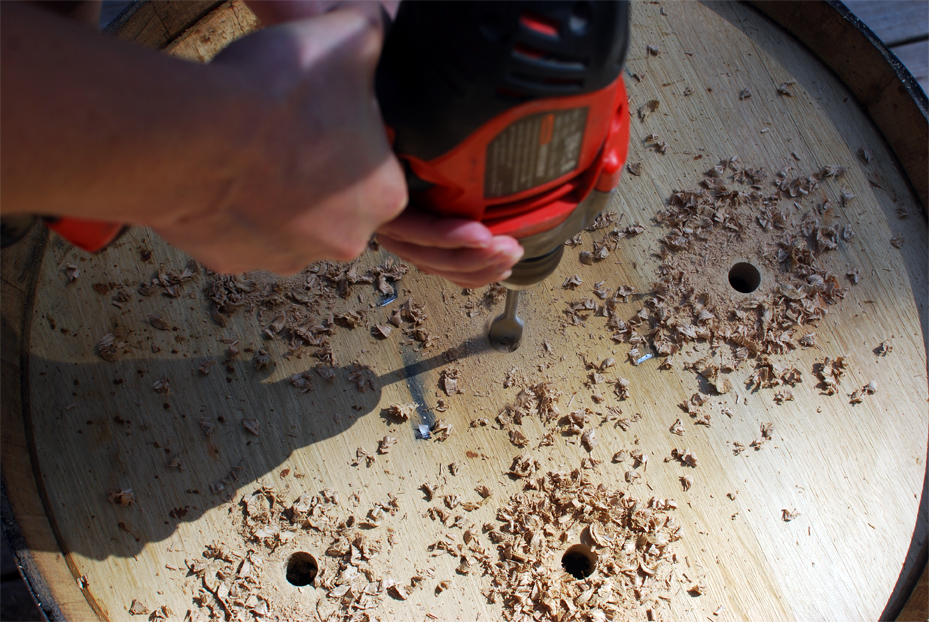
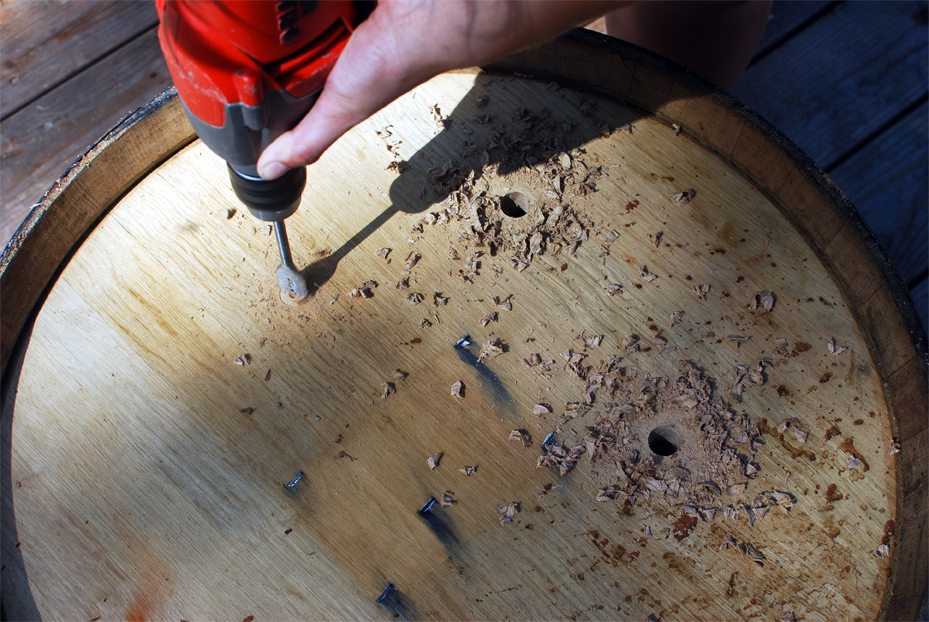
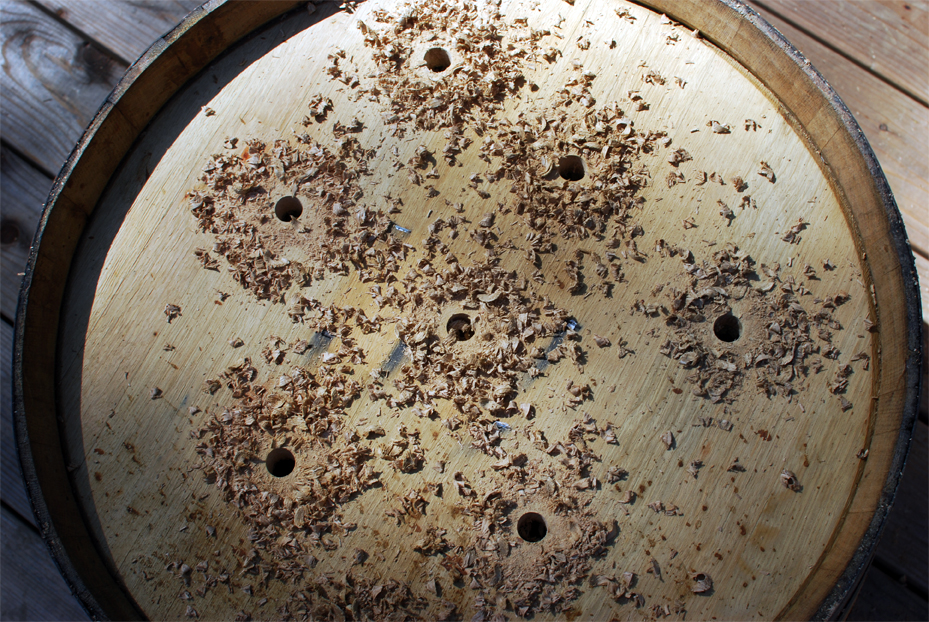
 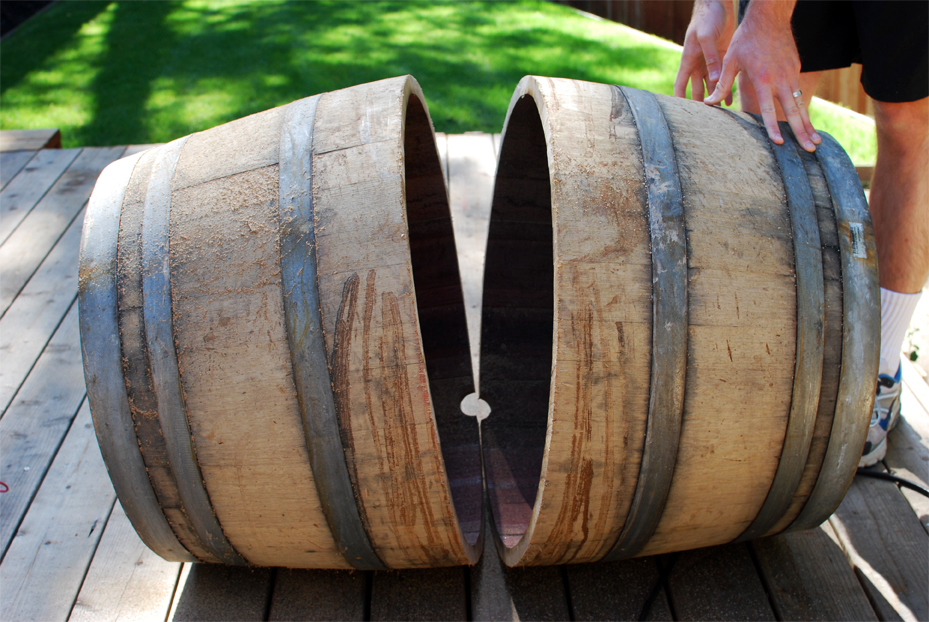 Next, we need to cut holes into the bottom of the planters to allow for water draining. To do this, simply attach the spade bit to your power drill. We used the 3/4″ spade bit to create rather large holes. You can create as many holes as you’d like but we recommend 4-8 holes.
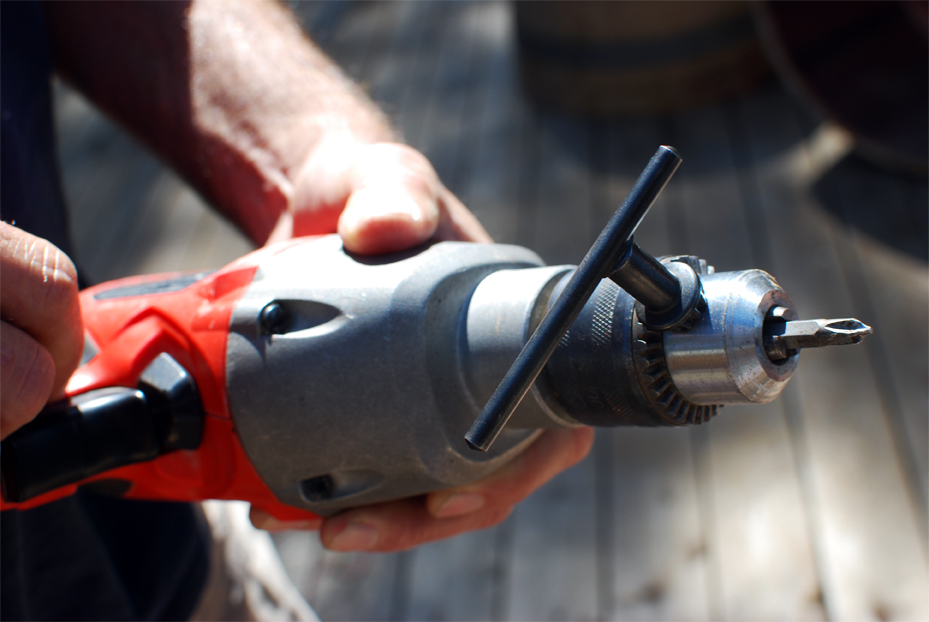
 The last and easiest step is to sand down the edges. After you cut the barrel you’ll immediately notice those rough edges the circle saw leaves behind. You’ll want to sand down those rough edges to avoid unwanted splinters. Plus, it looks that much more finished with a nice sanding. We recommend painting the outside of the planters with a protective coating against harsh weather and rain.
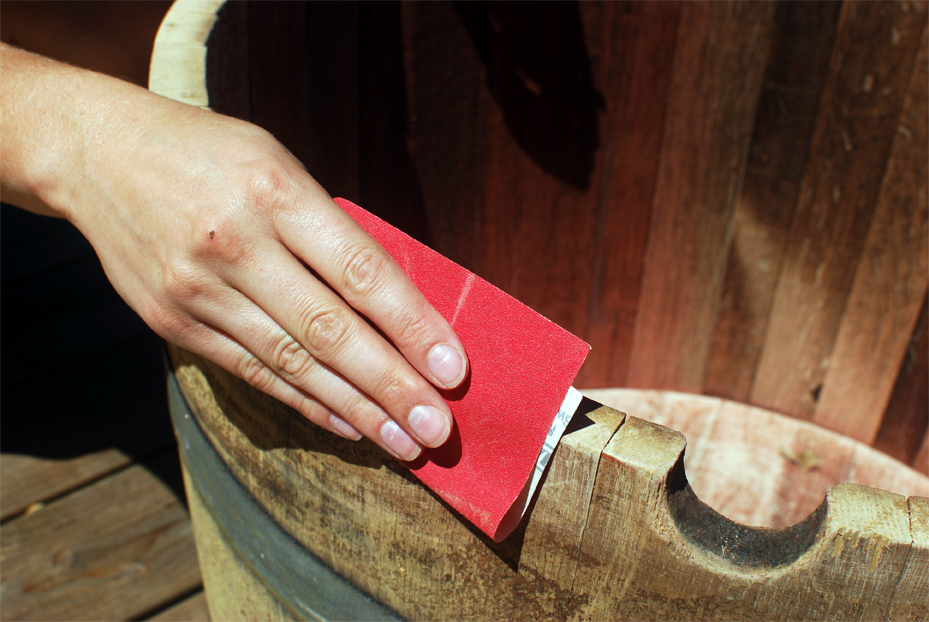
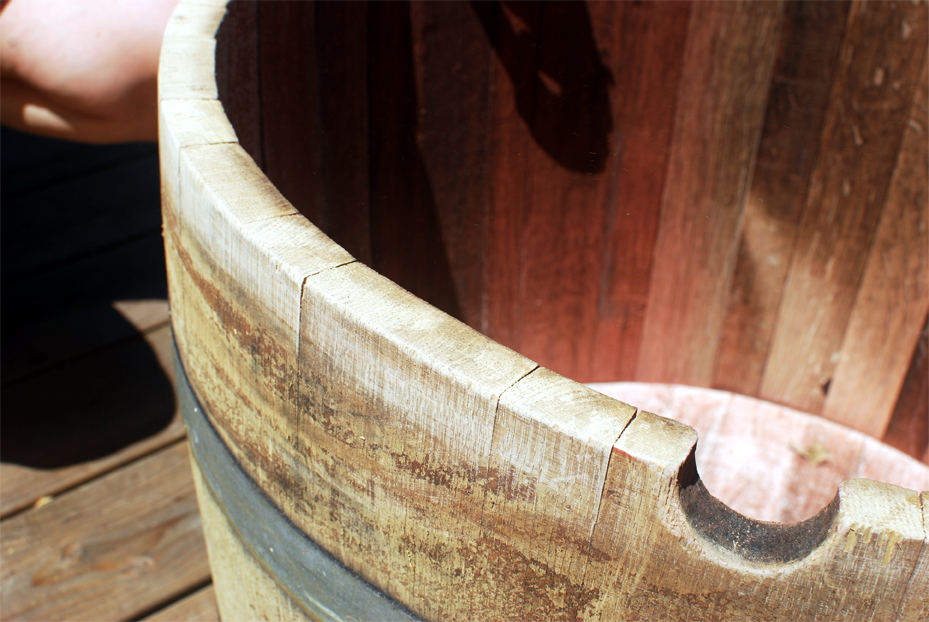 You’ve made it! You’ve successfully turned that old wine barrel into a beautiful planter that’s ready to help grow your garden.